Help
How to write a post in your brand's voice, check it, and get it published. Most of this takes a few minutes the first time and under a minute after that.
Last updated 21 September 2026
Signing in
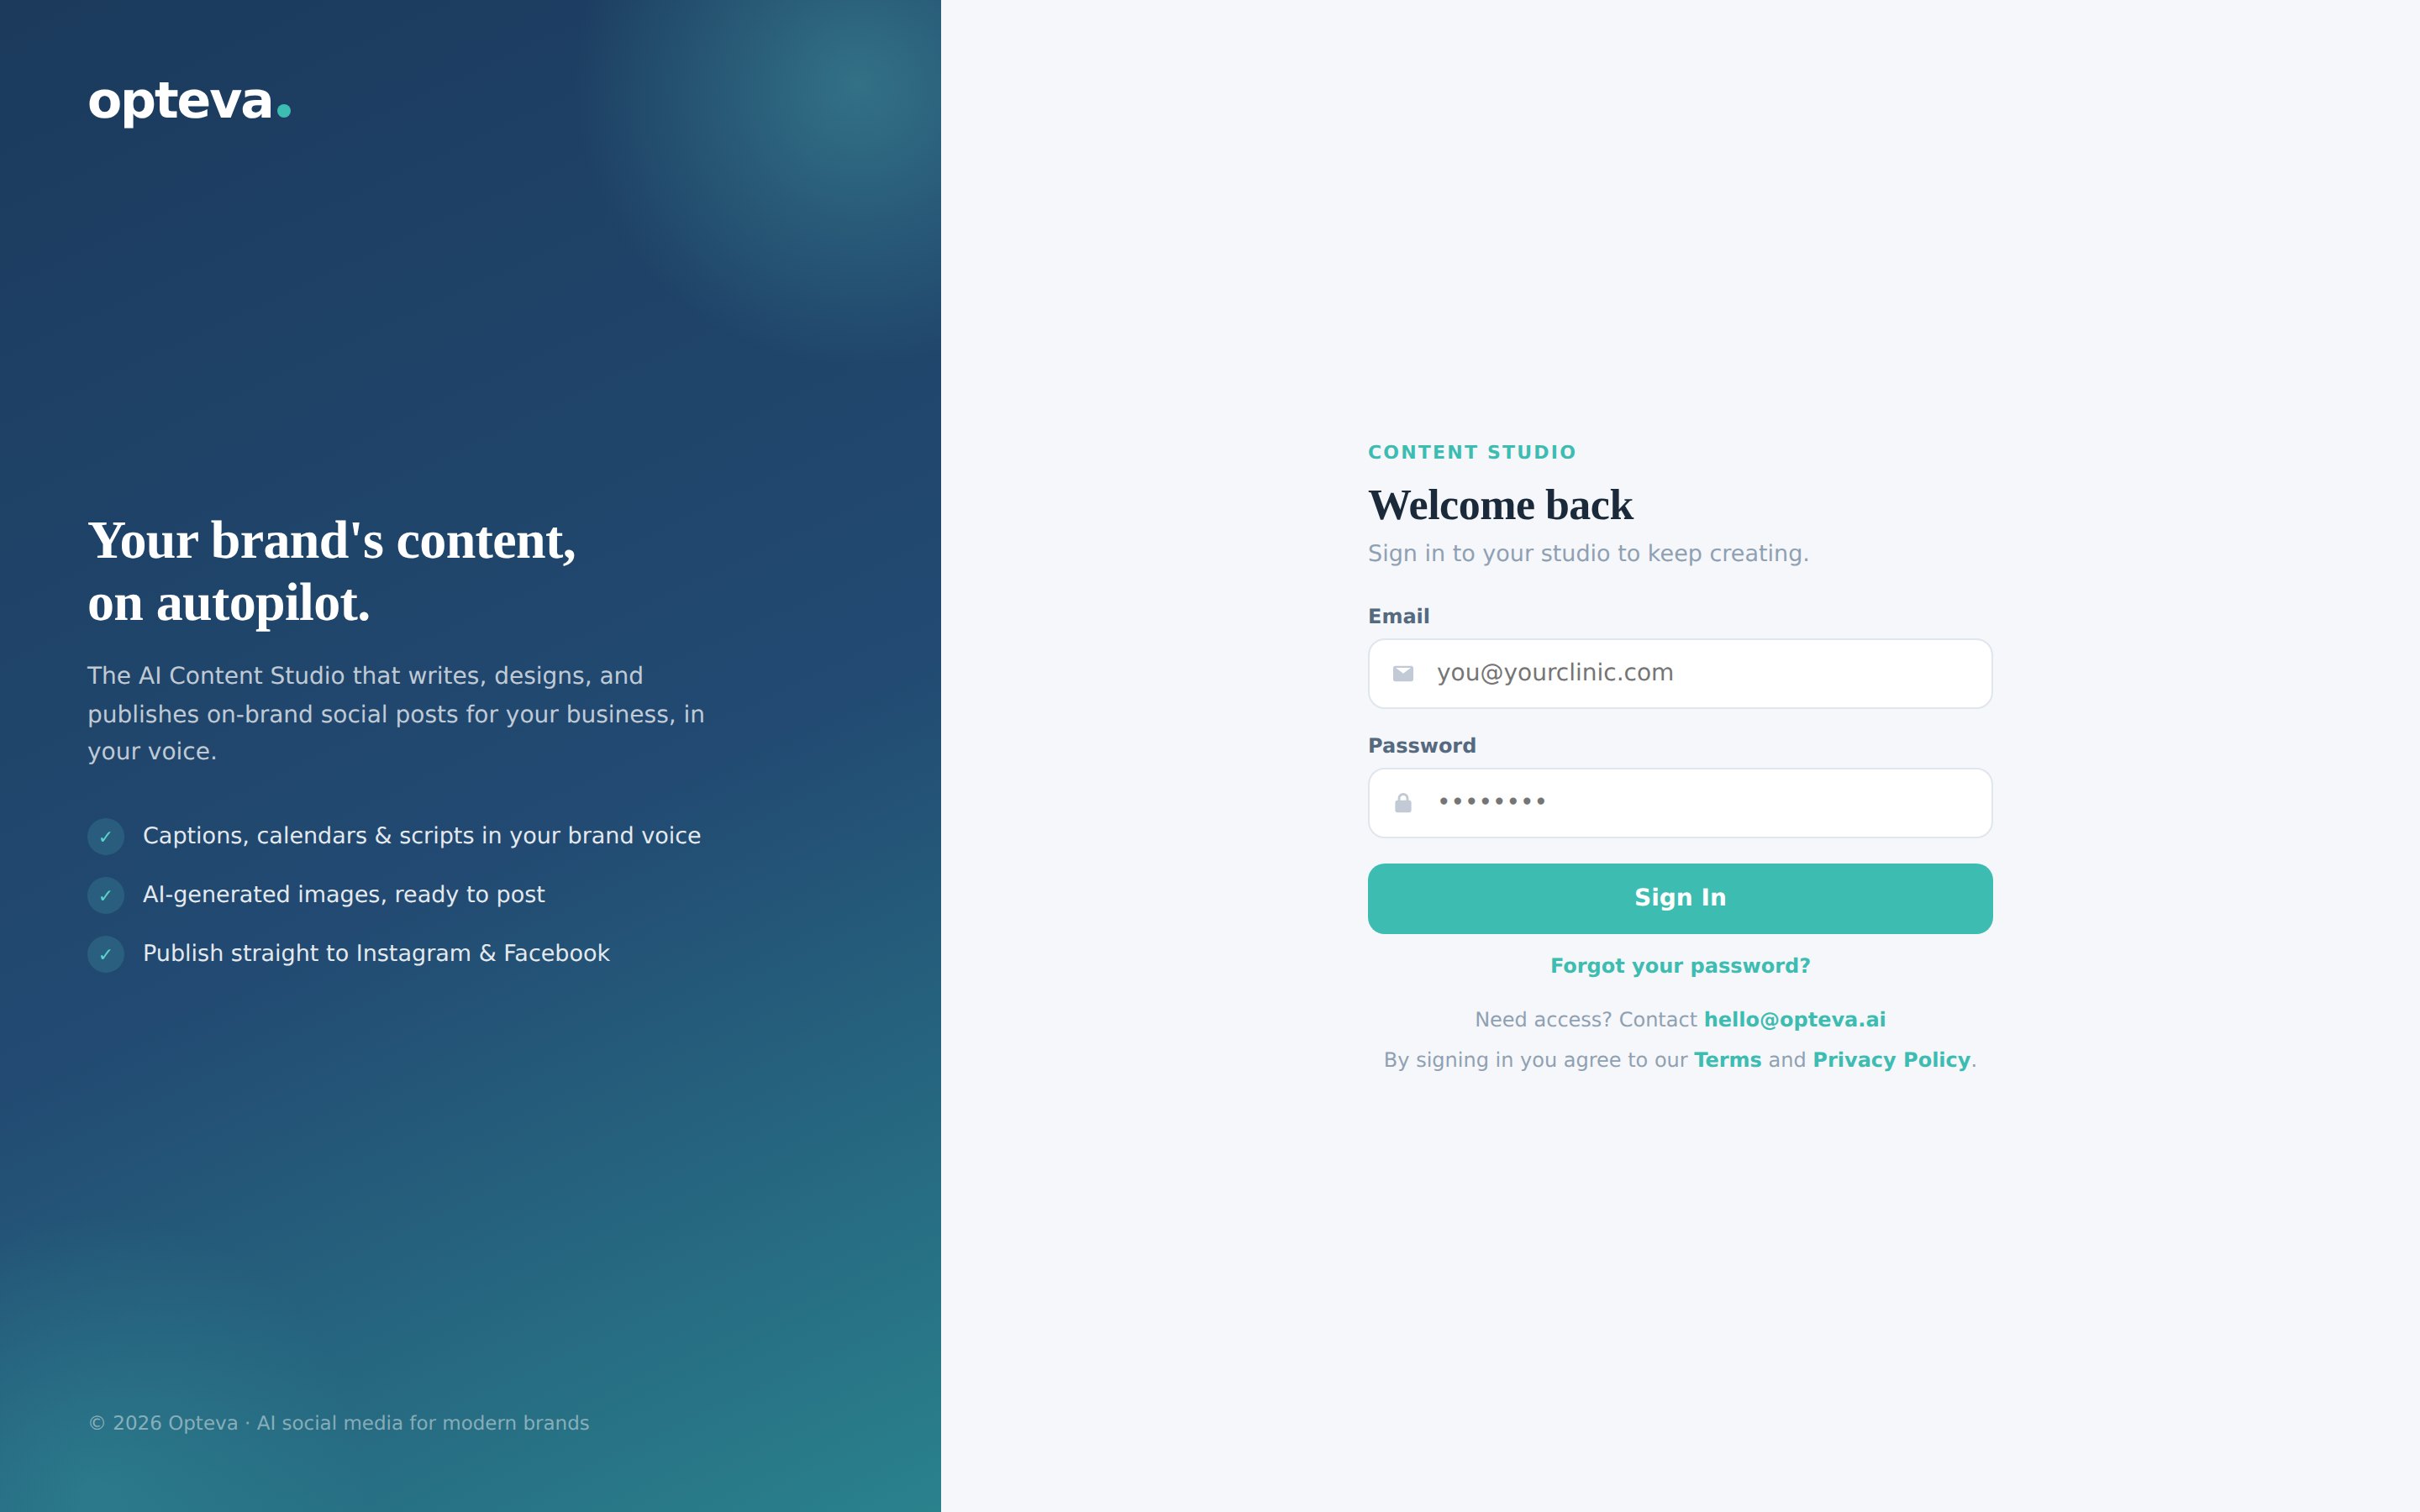
Go to clients.opteva.ai and enter your email and password.
If you look after more than one brand, you pick which one to work on next. Each brand is a separate studio with its own voice, posts and numbers. Nothing crosses between them.
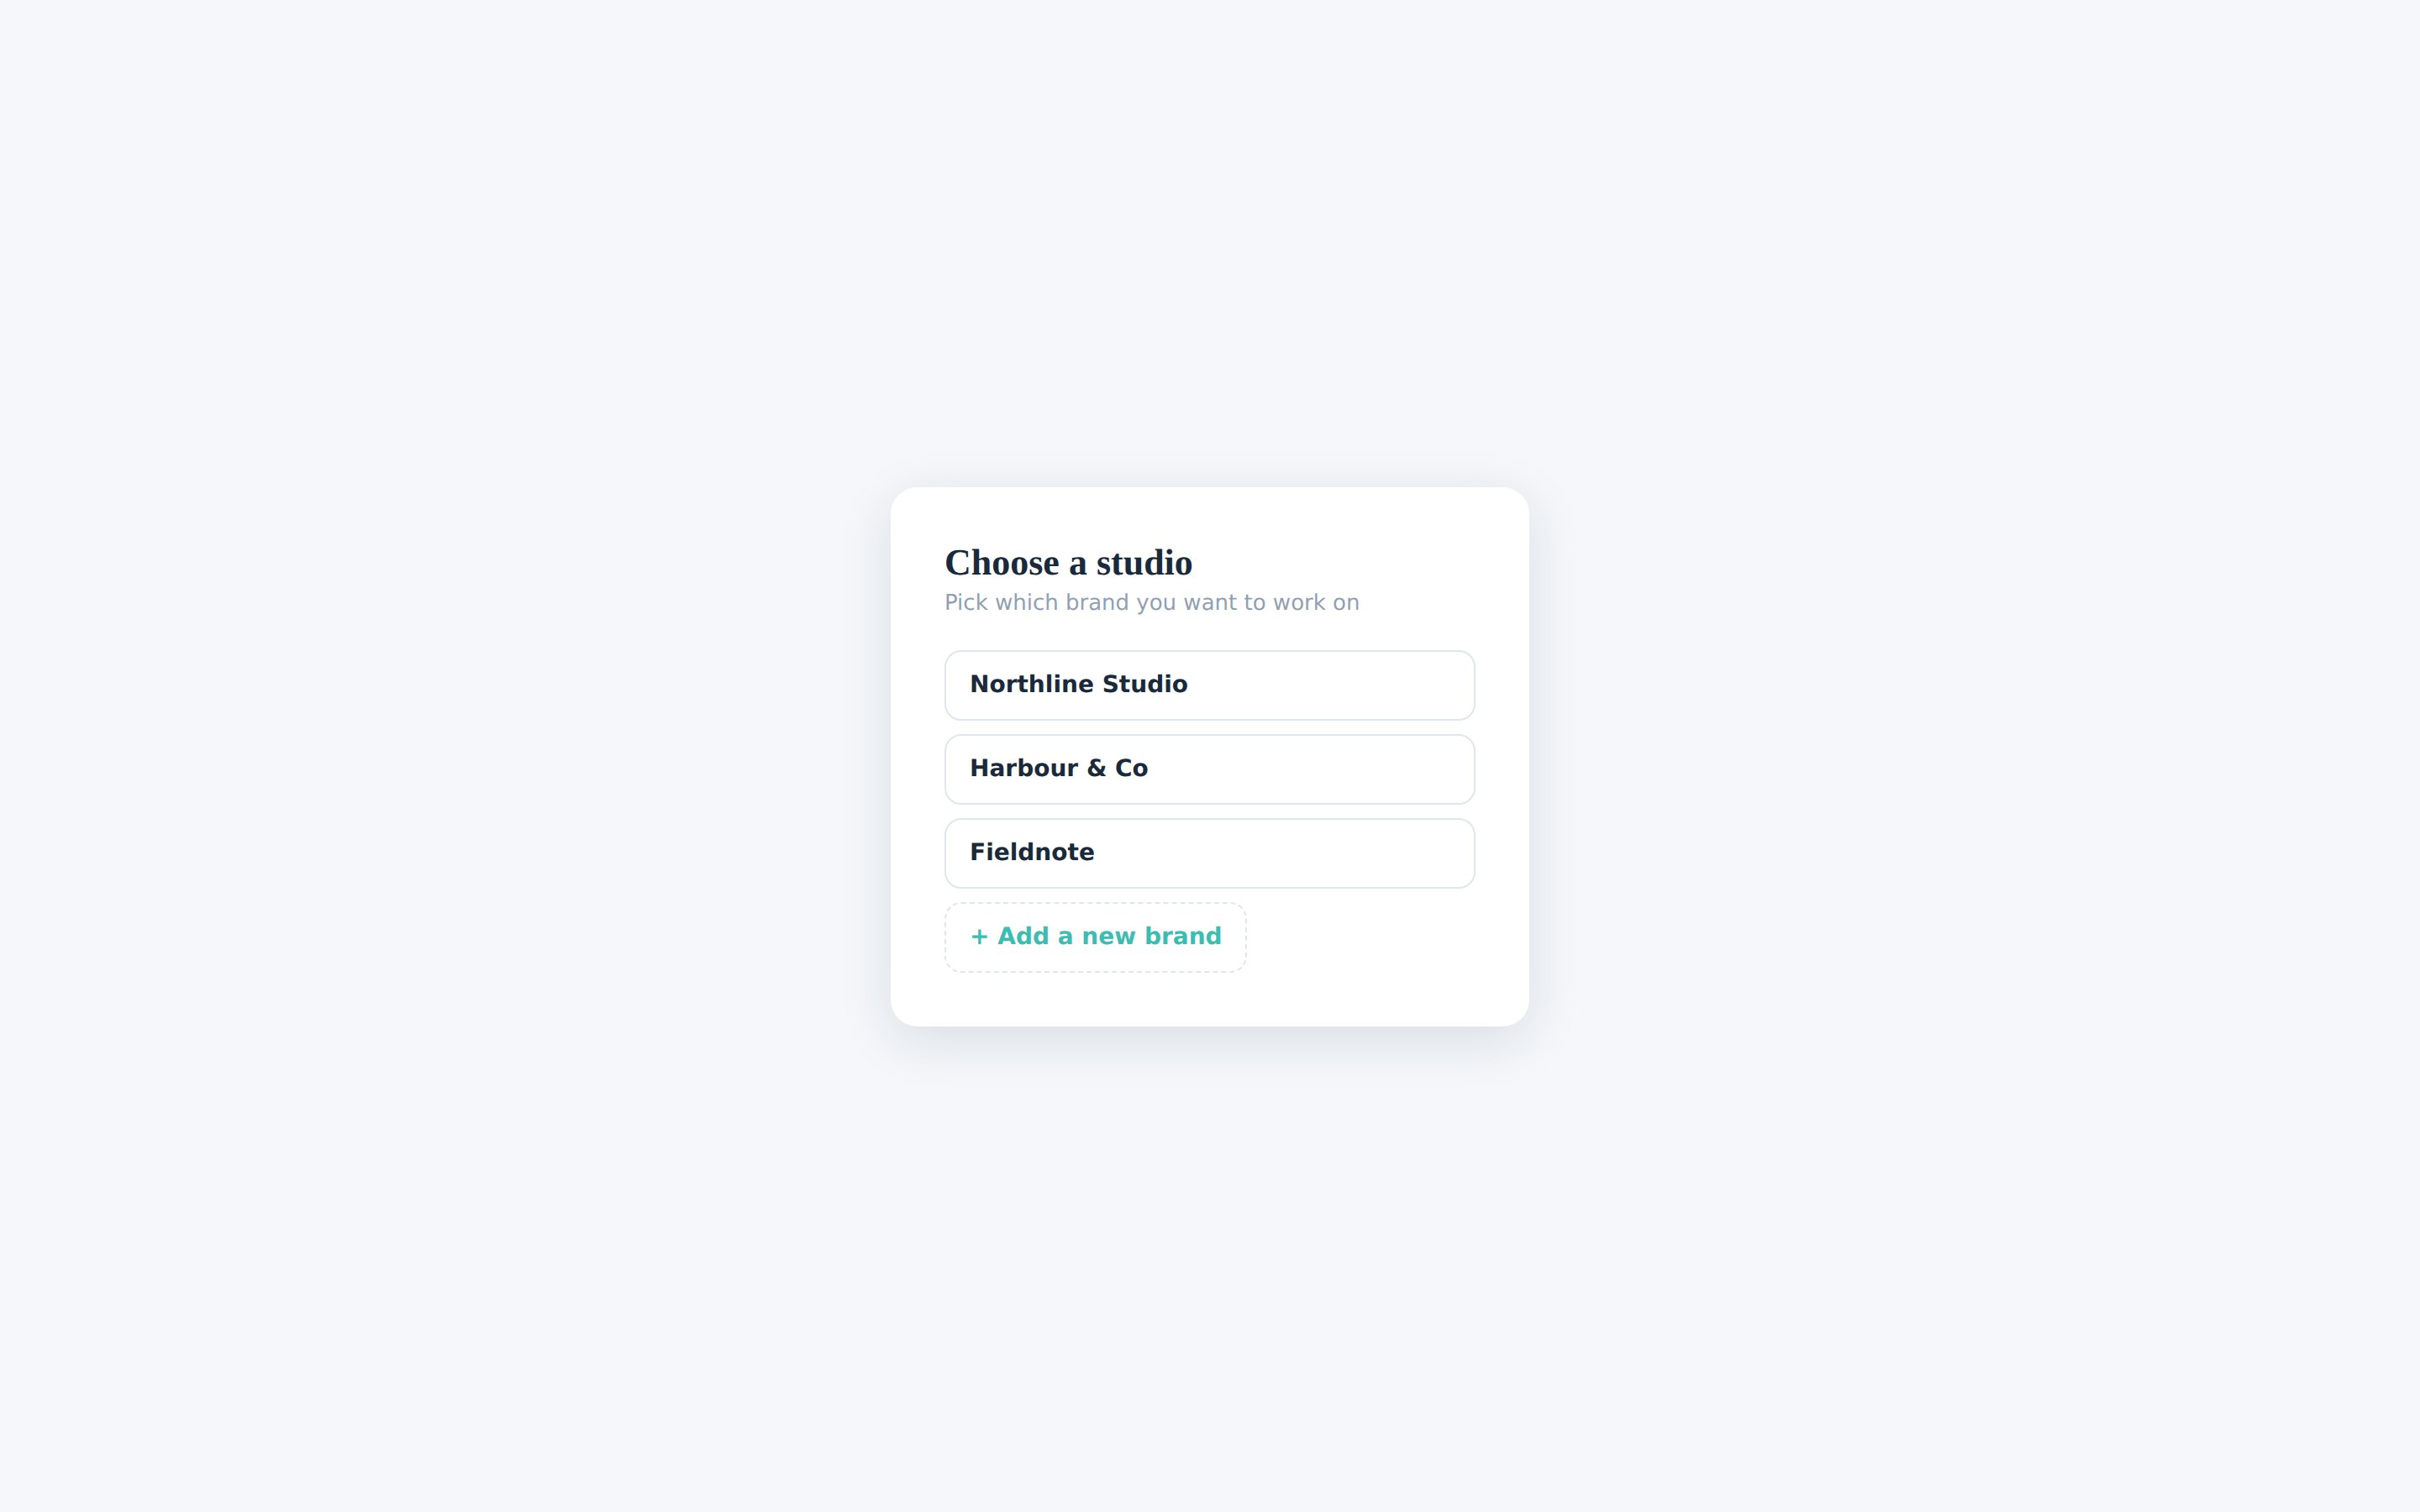
You can change brands at any time with Switch Studio, at the bottom of the left menu.
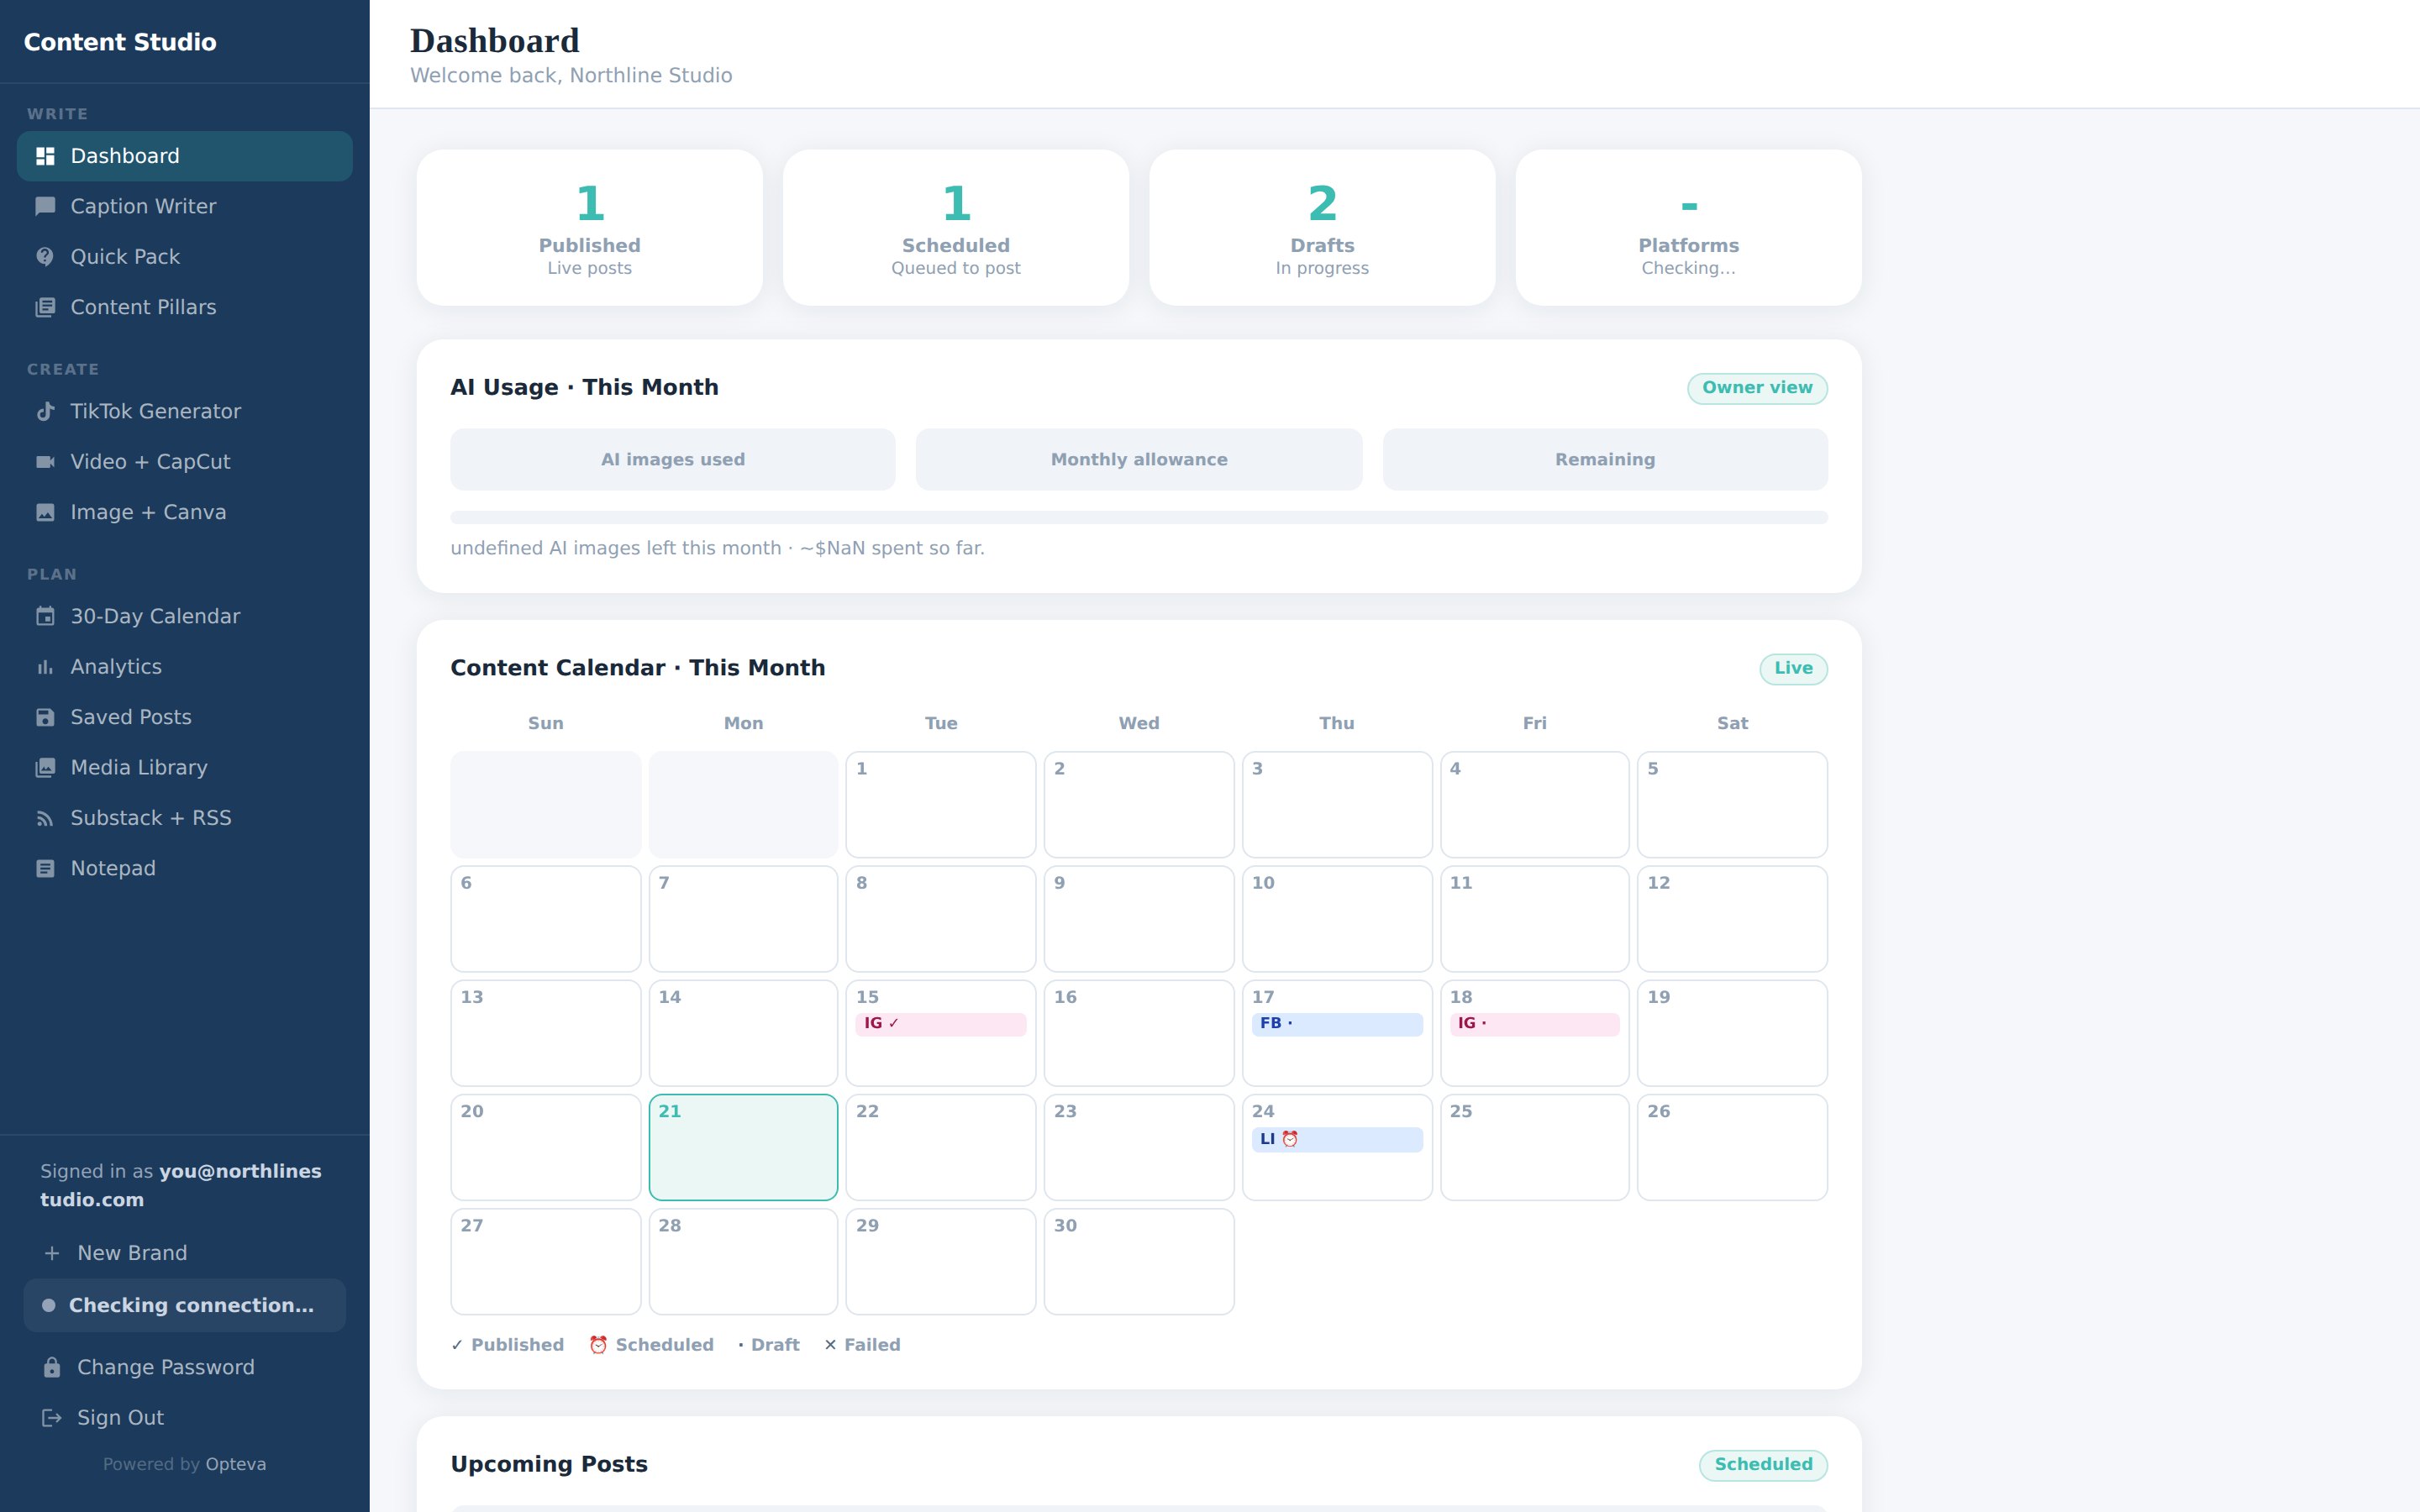
Opening it from your CRM
If your company installed opteva as a CRM app, you do not sign in at all. Open the client account you want to work on and click opteva in its left menu. The studio opens inside your CRM, already signed in as you, on that brand.
Open a client account first
A studio belongs to one brand, so the menu item only works inside an account. At the company level there is no brand to open, and the panel will say so.
Setting up a brand
This happens once, and everything written afterwards depends on it. You are telling opteva how this business actually talks.
- Business name and what they do
- Who they are talking to. Be specific. "Owners of independent gyms" beats "customers"
- Brand voice. How they sound, and what they refuse to say
- Colours and logo, used on generated images
- Their handles on each network
The more real detail here, the less editing later. Generic answers produce generic captions.
Connecting social accounts
Posts reach the networks through your CRM, using the accounts that client account has already connected in its own Social Planner. Connect them there once.
opteva can publish to Instagram, Facebook, LinkedIn, TikTok, X, Google Business and YouTube. The sidebar shows which are connected for the brand you are in.
Creating a post
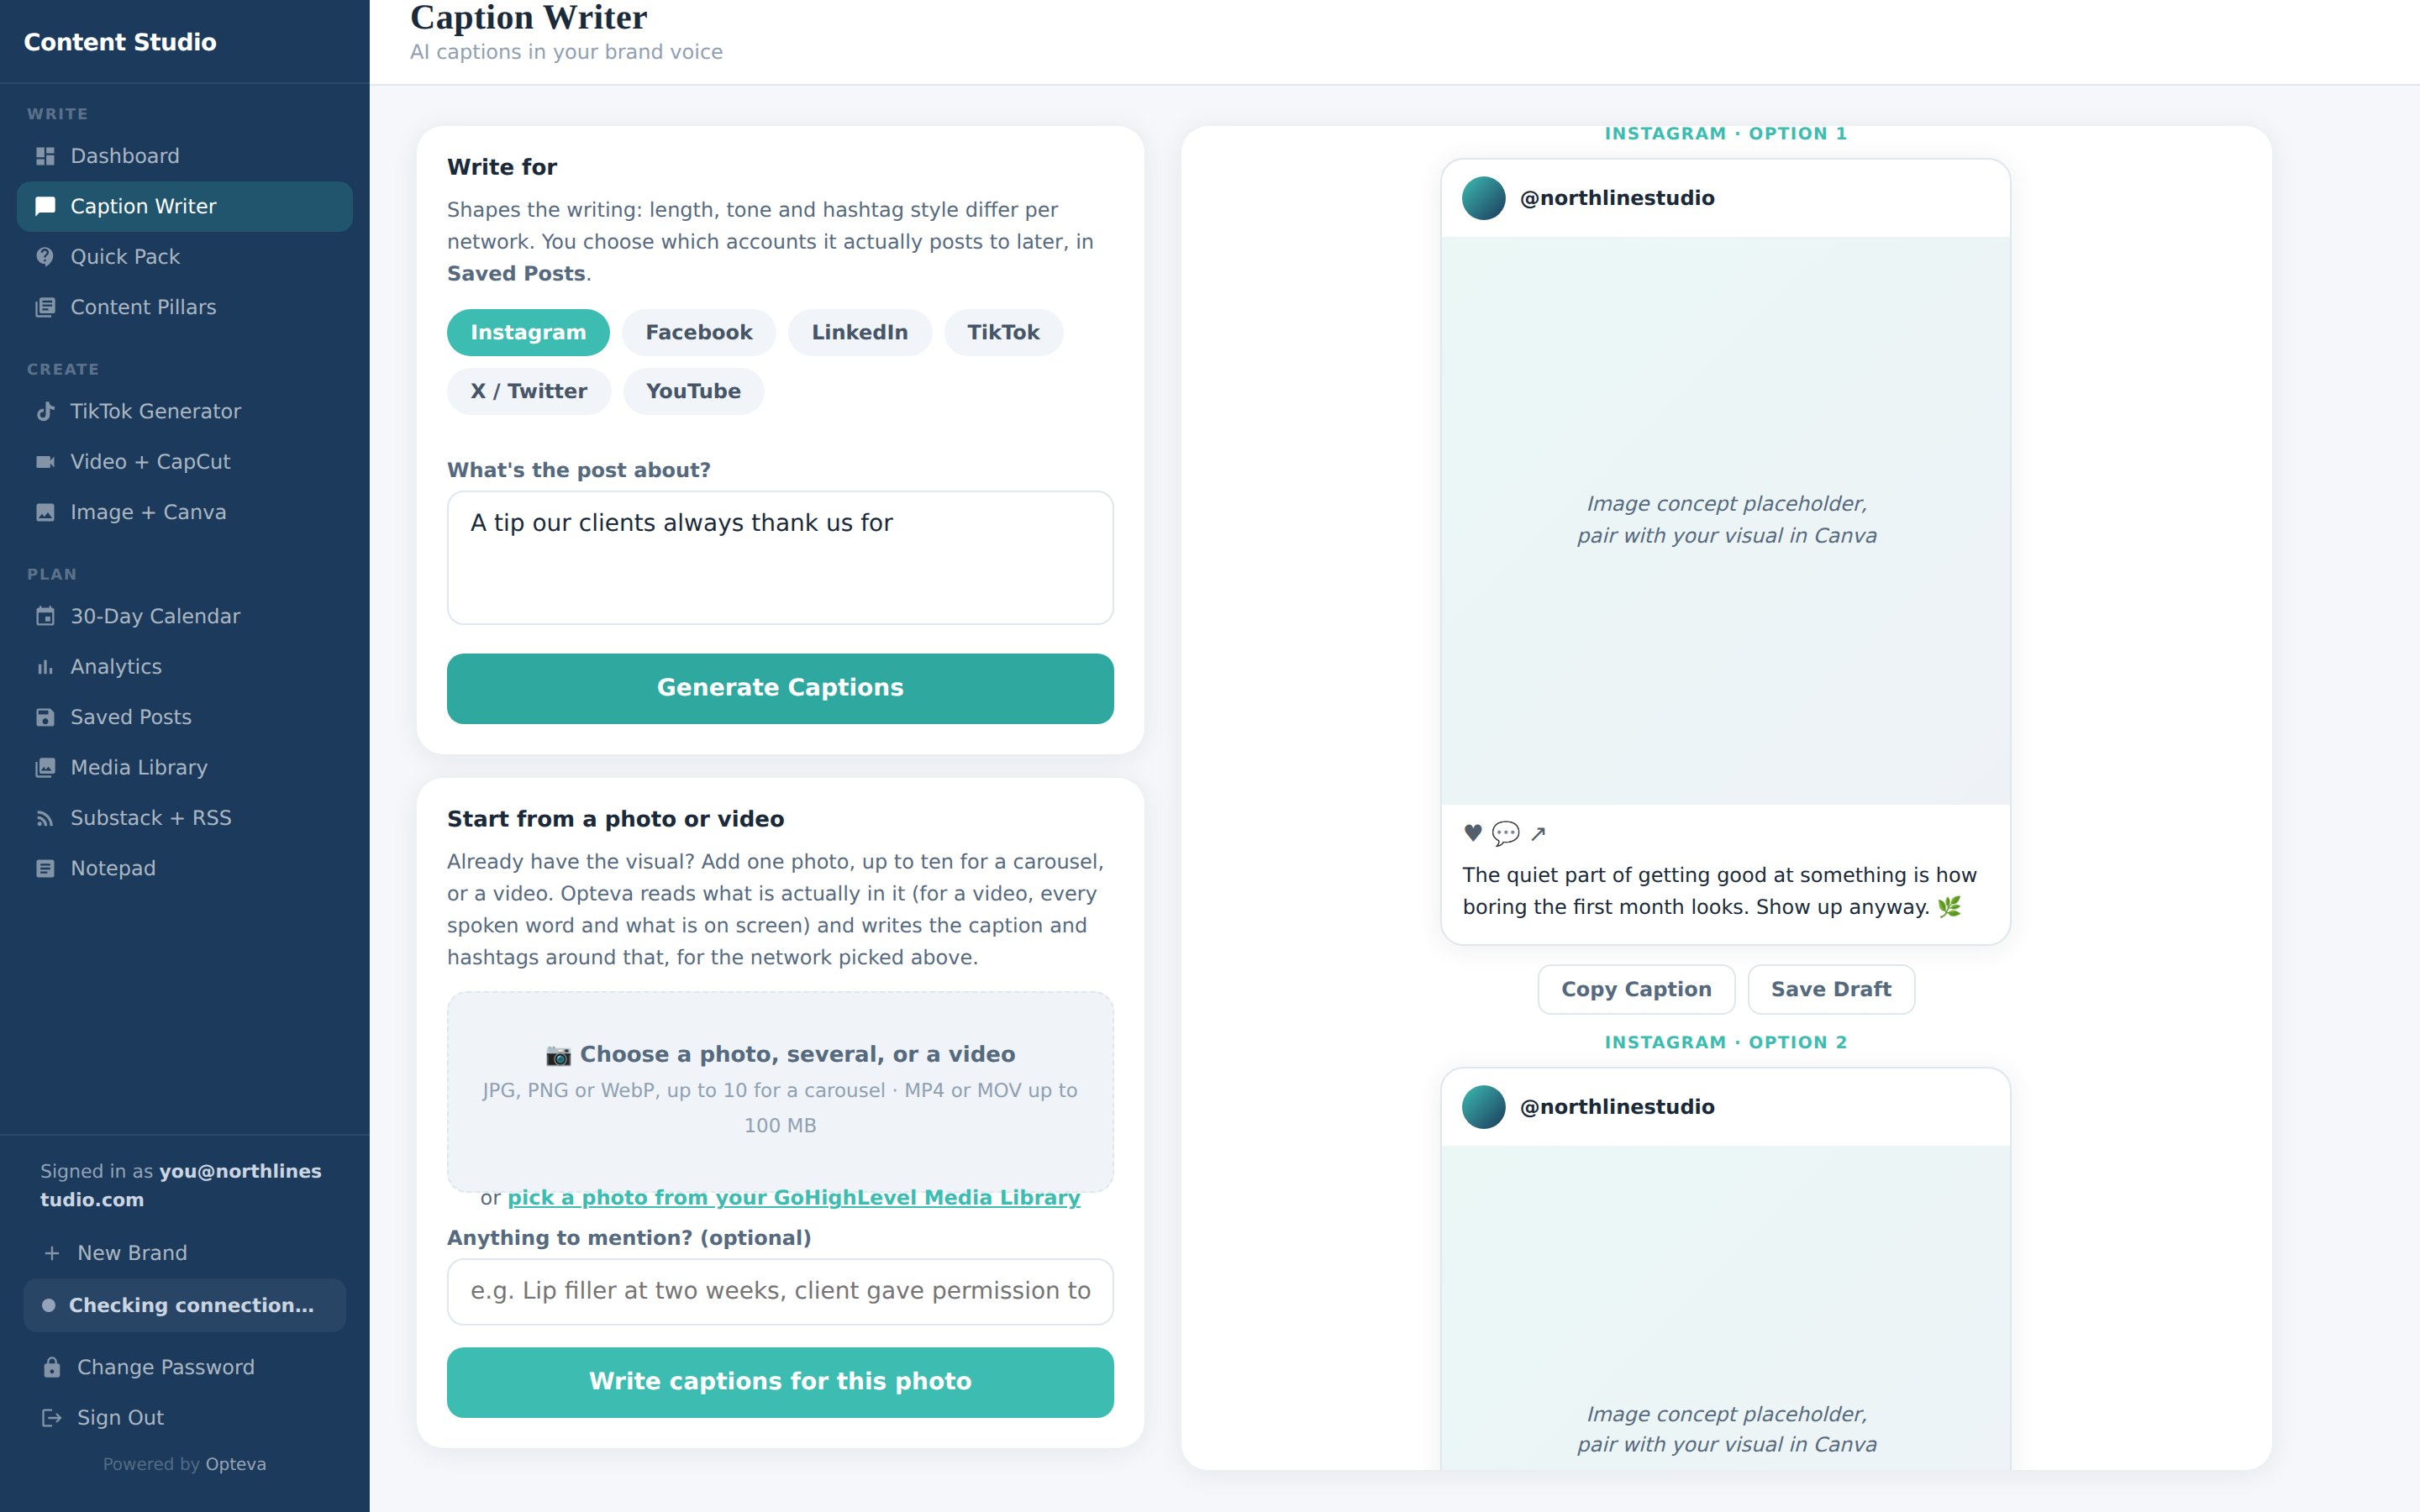
Open Create Post from the left menu.
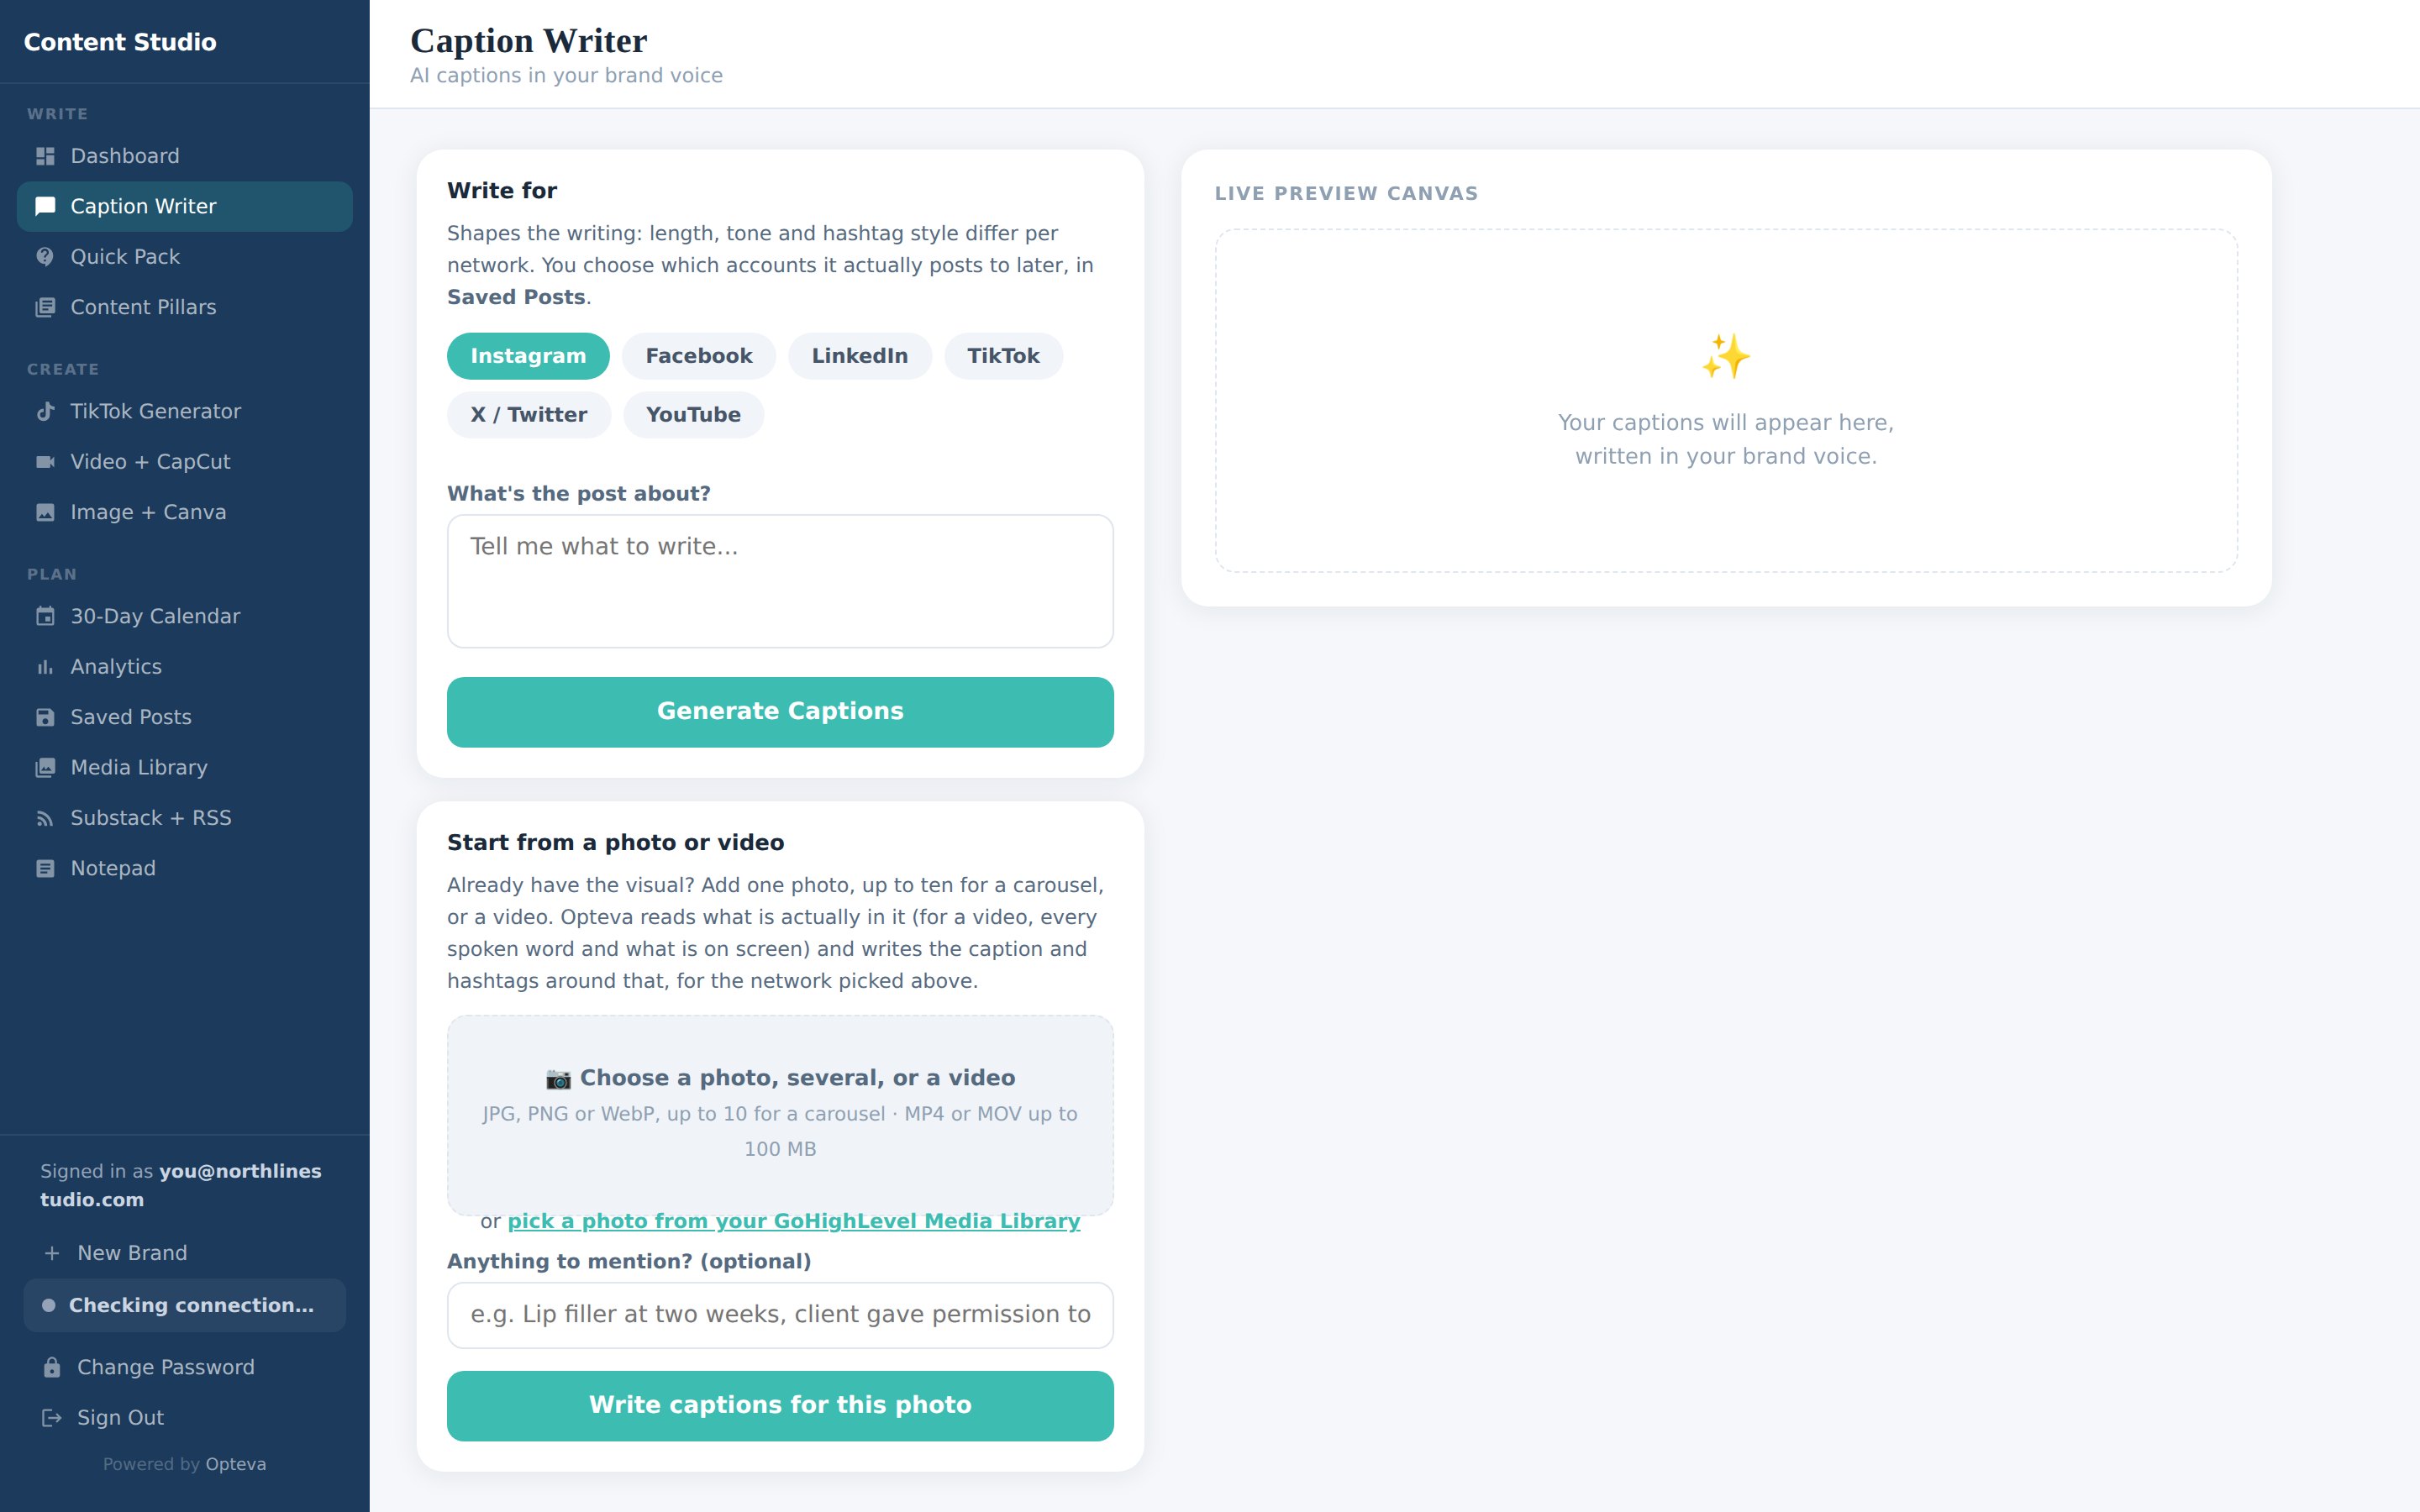
- Pick the network the post is for. Each one gets a different length and shape.
- Say what the post is about, in one line. That is the whole input. Or click one of the suggested prompts.
- Click Write My Post. It takes a few seconds.
- Read the options. Keep the one that sounds most like the brand.
Every option has Post or schedule, Save Draft and Copy. Post or schedule opens the post in the editor, ready to post now or pick a time. Save Draft puts it in Content to finish later.
The other writing tools
| Tool | What it is for |
|---|---|
| Quick Pack | Several posts at once, from one idea |
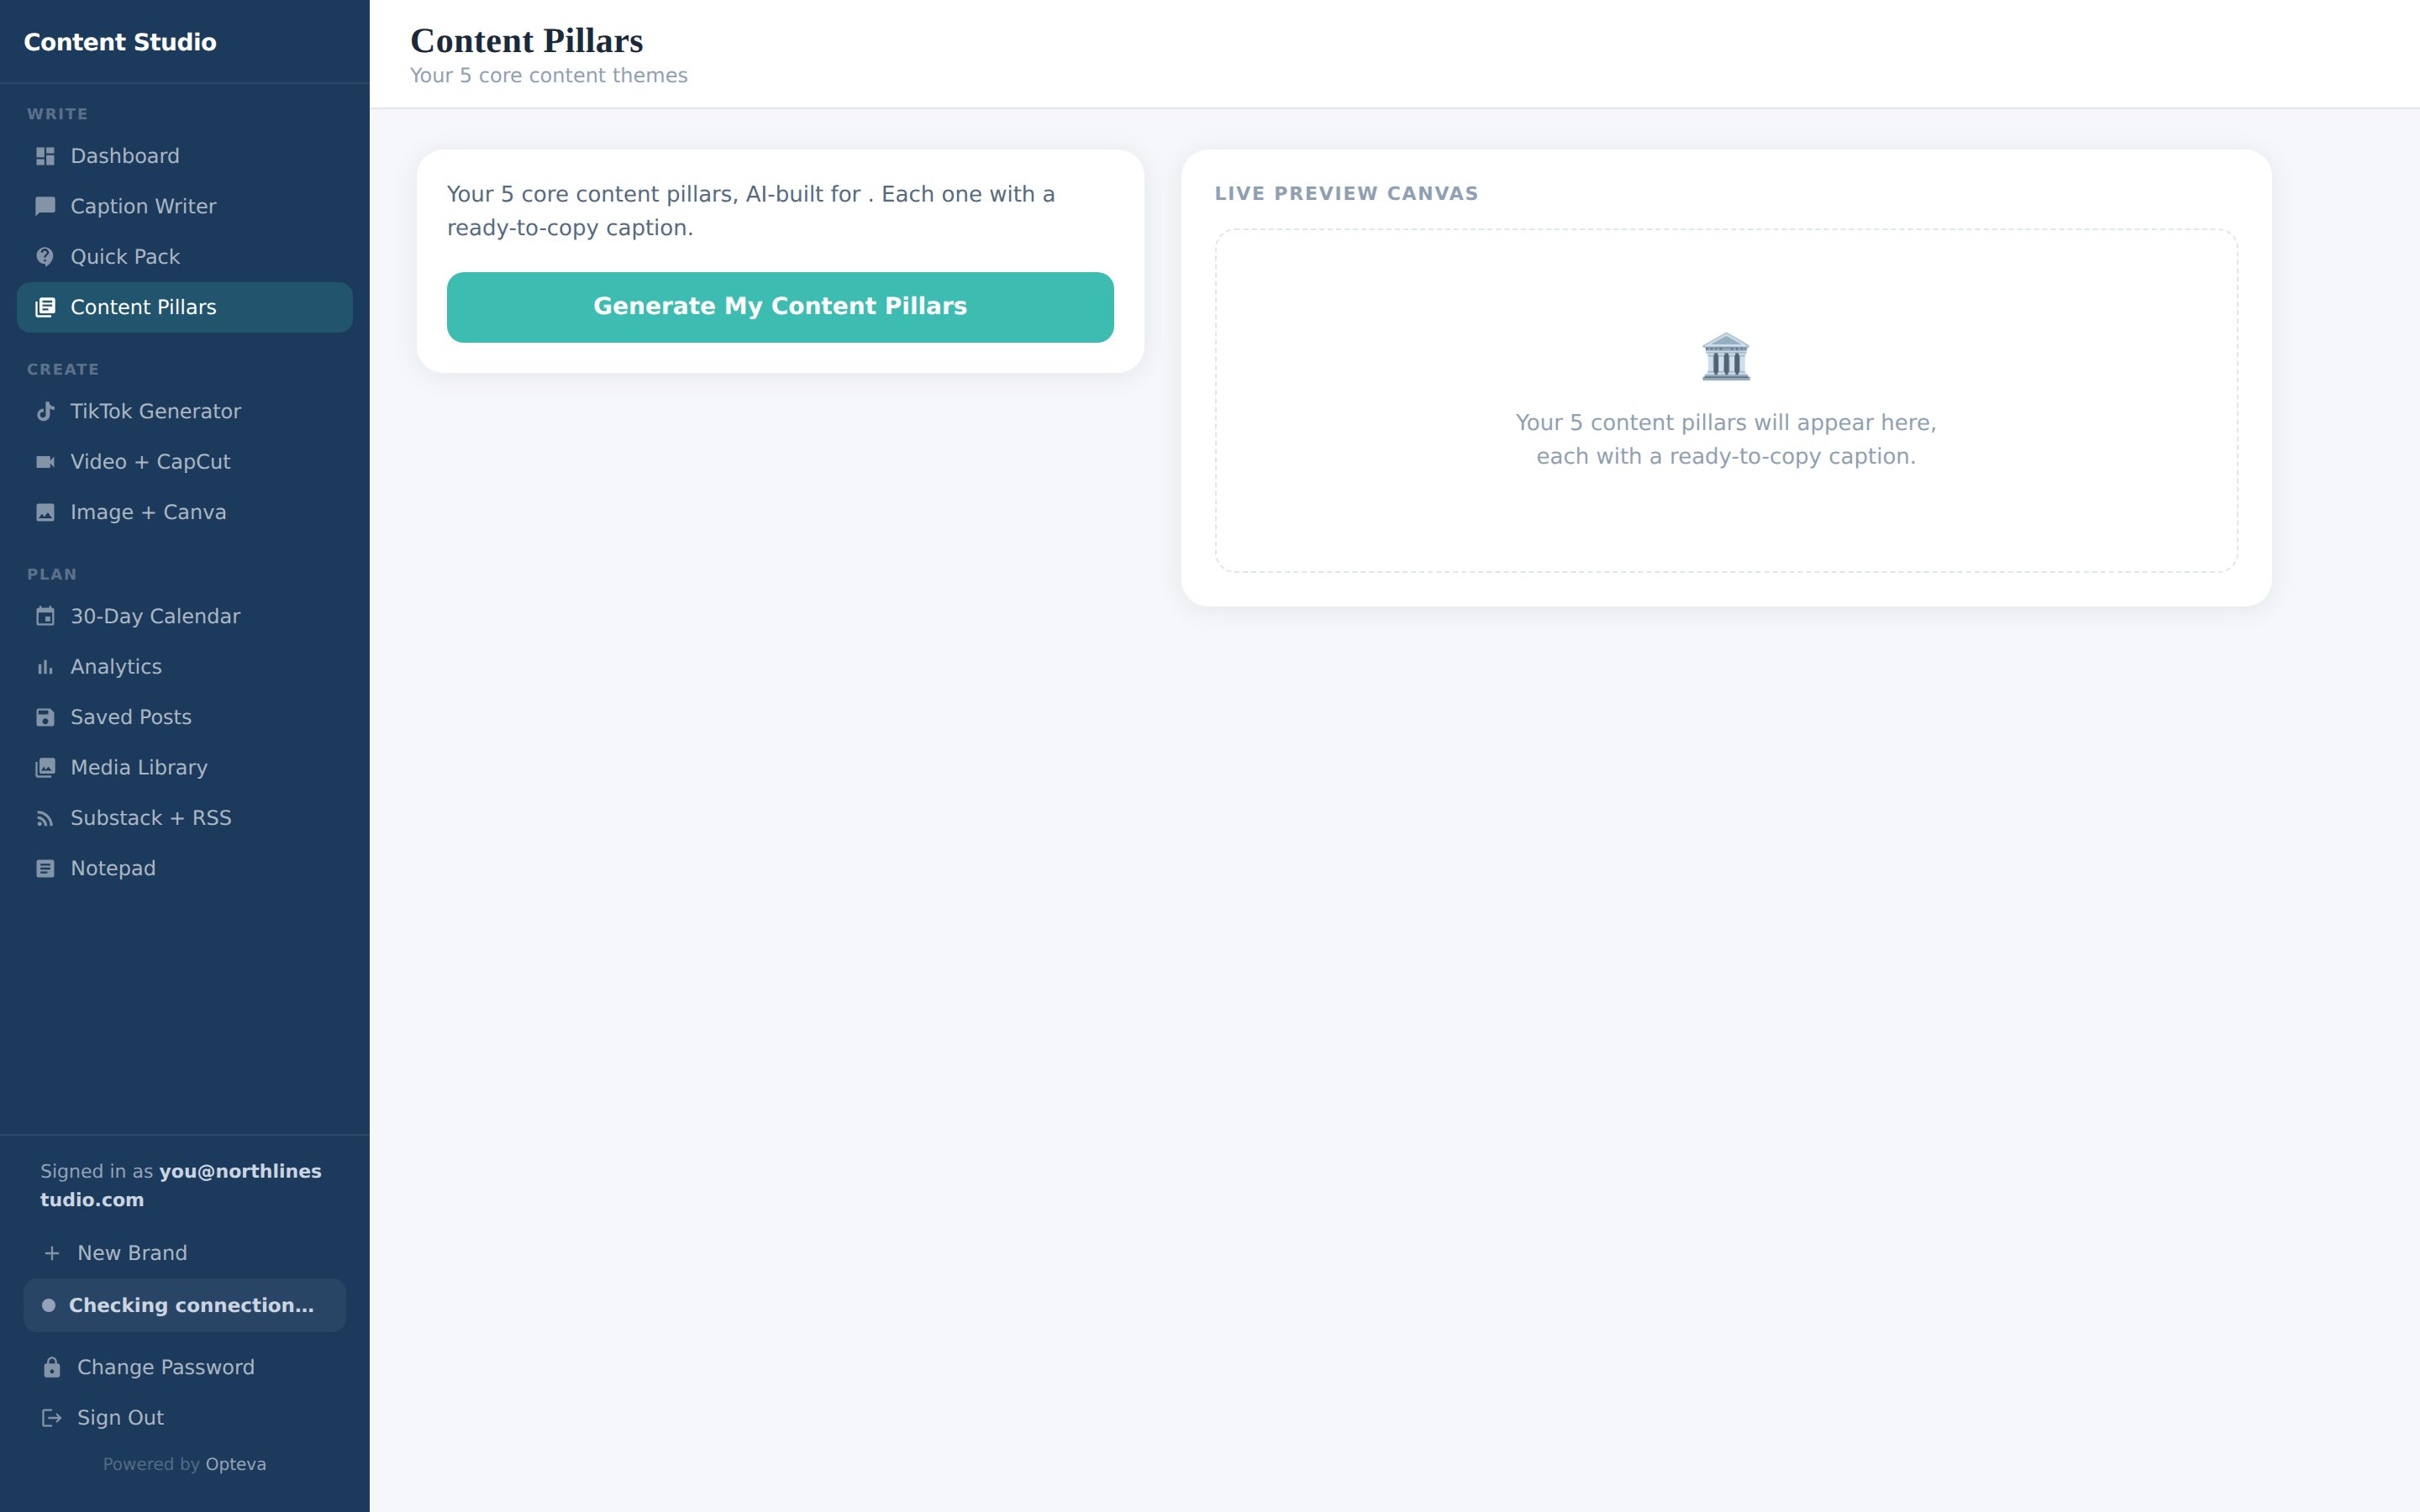
| Content Pillars | The five themes this brand should keep returning to |
| 30-Day Calendar | A month of post ideas, dated |
| TikTok Generator | Hooks and short video ideas |
| Video + CapCut | A full script with voiceover lines |
| Image + Canva | An on brand image from a description |
Starting from a photo
Often you have the picture before you have the words. Upload it, or pick one from the CRM Media Library, and captions get written from what is actually in the shot.
Then click Write captions for this photo. Add up to eight photos and you get one caption written for the set, as a carousel.
Setting up the post
Click Post or schedule and the editor opens. This is where the last ten percent happens.
- Accounts. Which connected profiles it publishes to
- Post this as. Feed, Reel or Story. A reel or story needs a video
- Media. Swap an image, add more, or replace it with a video
- First comment. Kept separate from the caption
Checking it before it goes
Run the check and the post is read for claims that could cause a problem, before anyone outside sees it. It flags what it finds and explains why.
Everything is a draft until a person approves it
Nothing opteva writes reaches a real account on its own. Someone has to open the post and publish or schedule it. The check helps, but it does not replace reading the post.
Publishing or scheduling
Open the Post menu and choose to publish now or schedule for later.
Analytics tells you the times this brand's audience actually shows up, which is a better guide than a general best time to post.
Drafts, scheduled and published
Content is everything in one table, for the brand you are in. Filter by drafts, scheduled, posted or failed. A failed post shows why under its caption.
Posts that were made inside your CRM, from a CSV upload, a recurring schedule or an RSS feed, are listed underneath, so you see the same posts the CRM planner shows. Those are read only here.
Start a fresh post
Tap + New post at the top of Content, pick the platform, and write it from scratch. If you close it without writing anything, it is removed again.
Move a draft on the calendar
On the Dashboard, drag a draft to another day to change its date. With a mouse, click and drag. On a phone, press and hold the draft until it lifts, then slide it to the new day. A quick swipe still scrolls the page. Posts already sent to your CRM cannot be moved here; reschedule those in your CRM.
Photos and videos also go to your CRM library
When you upload a photo or video to a post, Opteva saves a copy in your CRM Media Library so you can reuse it from there. A small note confirms it. You can also click Save under any slide in the editor. Files over 100 MB are not copied; upload those in your CRM directly. If the copy fails, the post is not affected, and the note says why.
A different post on each network
Open a post, tick the accounts you want under Post to, and turn on Customize for each channel. Each network gets its own tab, starting as a copy of what you wrote. Change the caption, first comment, picture or options on one tab and the others stay as they are. YouTube's tab has its own title, and a reel stays a reel on the networks that have reels.
Use Post this channel to send just the tab you are on, or Post all channels / Schedule all channels to send every tab. You get a line for each network saying whether it went or why not. One failing never stops the others. + Add channel adds another network, and Remove this channel deletes just that network's version. Each tab is its own post on the Content tab, so a failed one can be fixed and sent on its own.
Stop a queue of posts
Tick the box on any scheduled post, or the box at the top of the table to tick everything shown. Choose Unschedule. The posts are taken out of the CRM planner so they will not go out, and they go back to Drafts. Nothing is deleted. A post that has already gone out cannot be unscheduled, and it is left alone.
Repost to another brand
Open the ⋮ menu on a post and choose Repost to another brand. Pick the brand and the accounts, then save it there as a draft, post it now, or schedule it. It makes a copy and never changes the original. The copy goes through that brand's own checks before it posts.
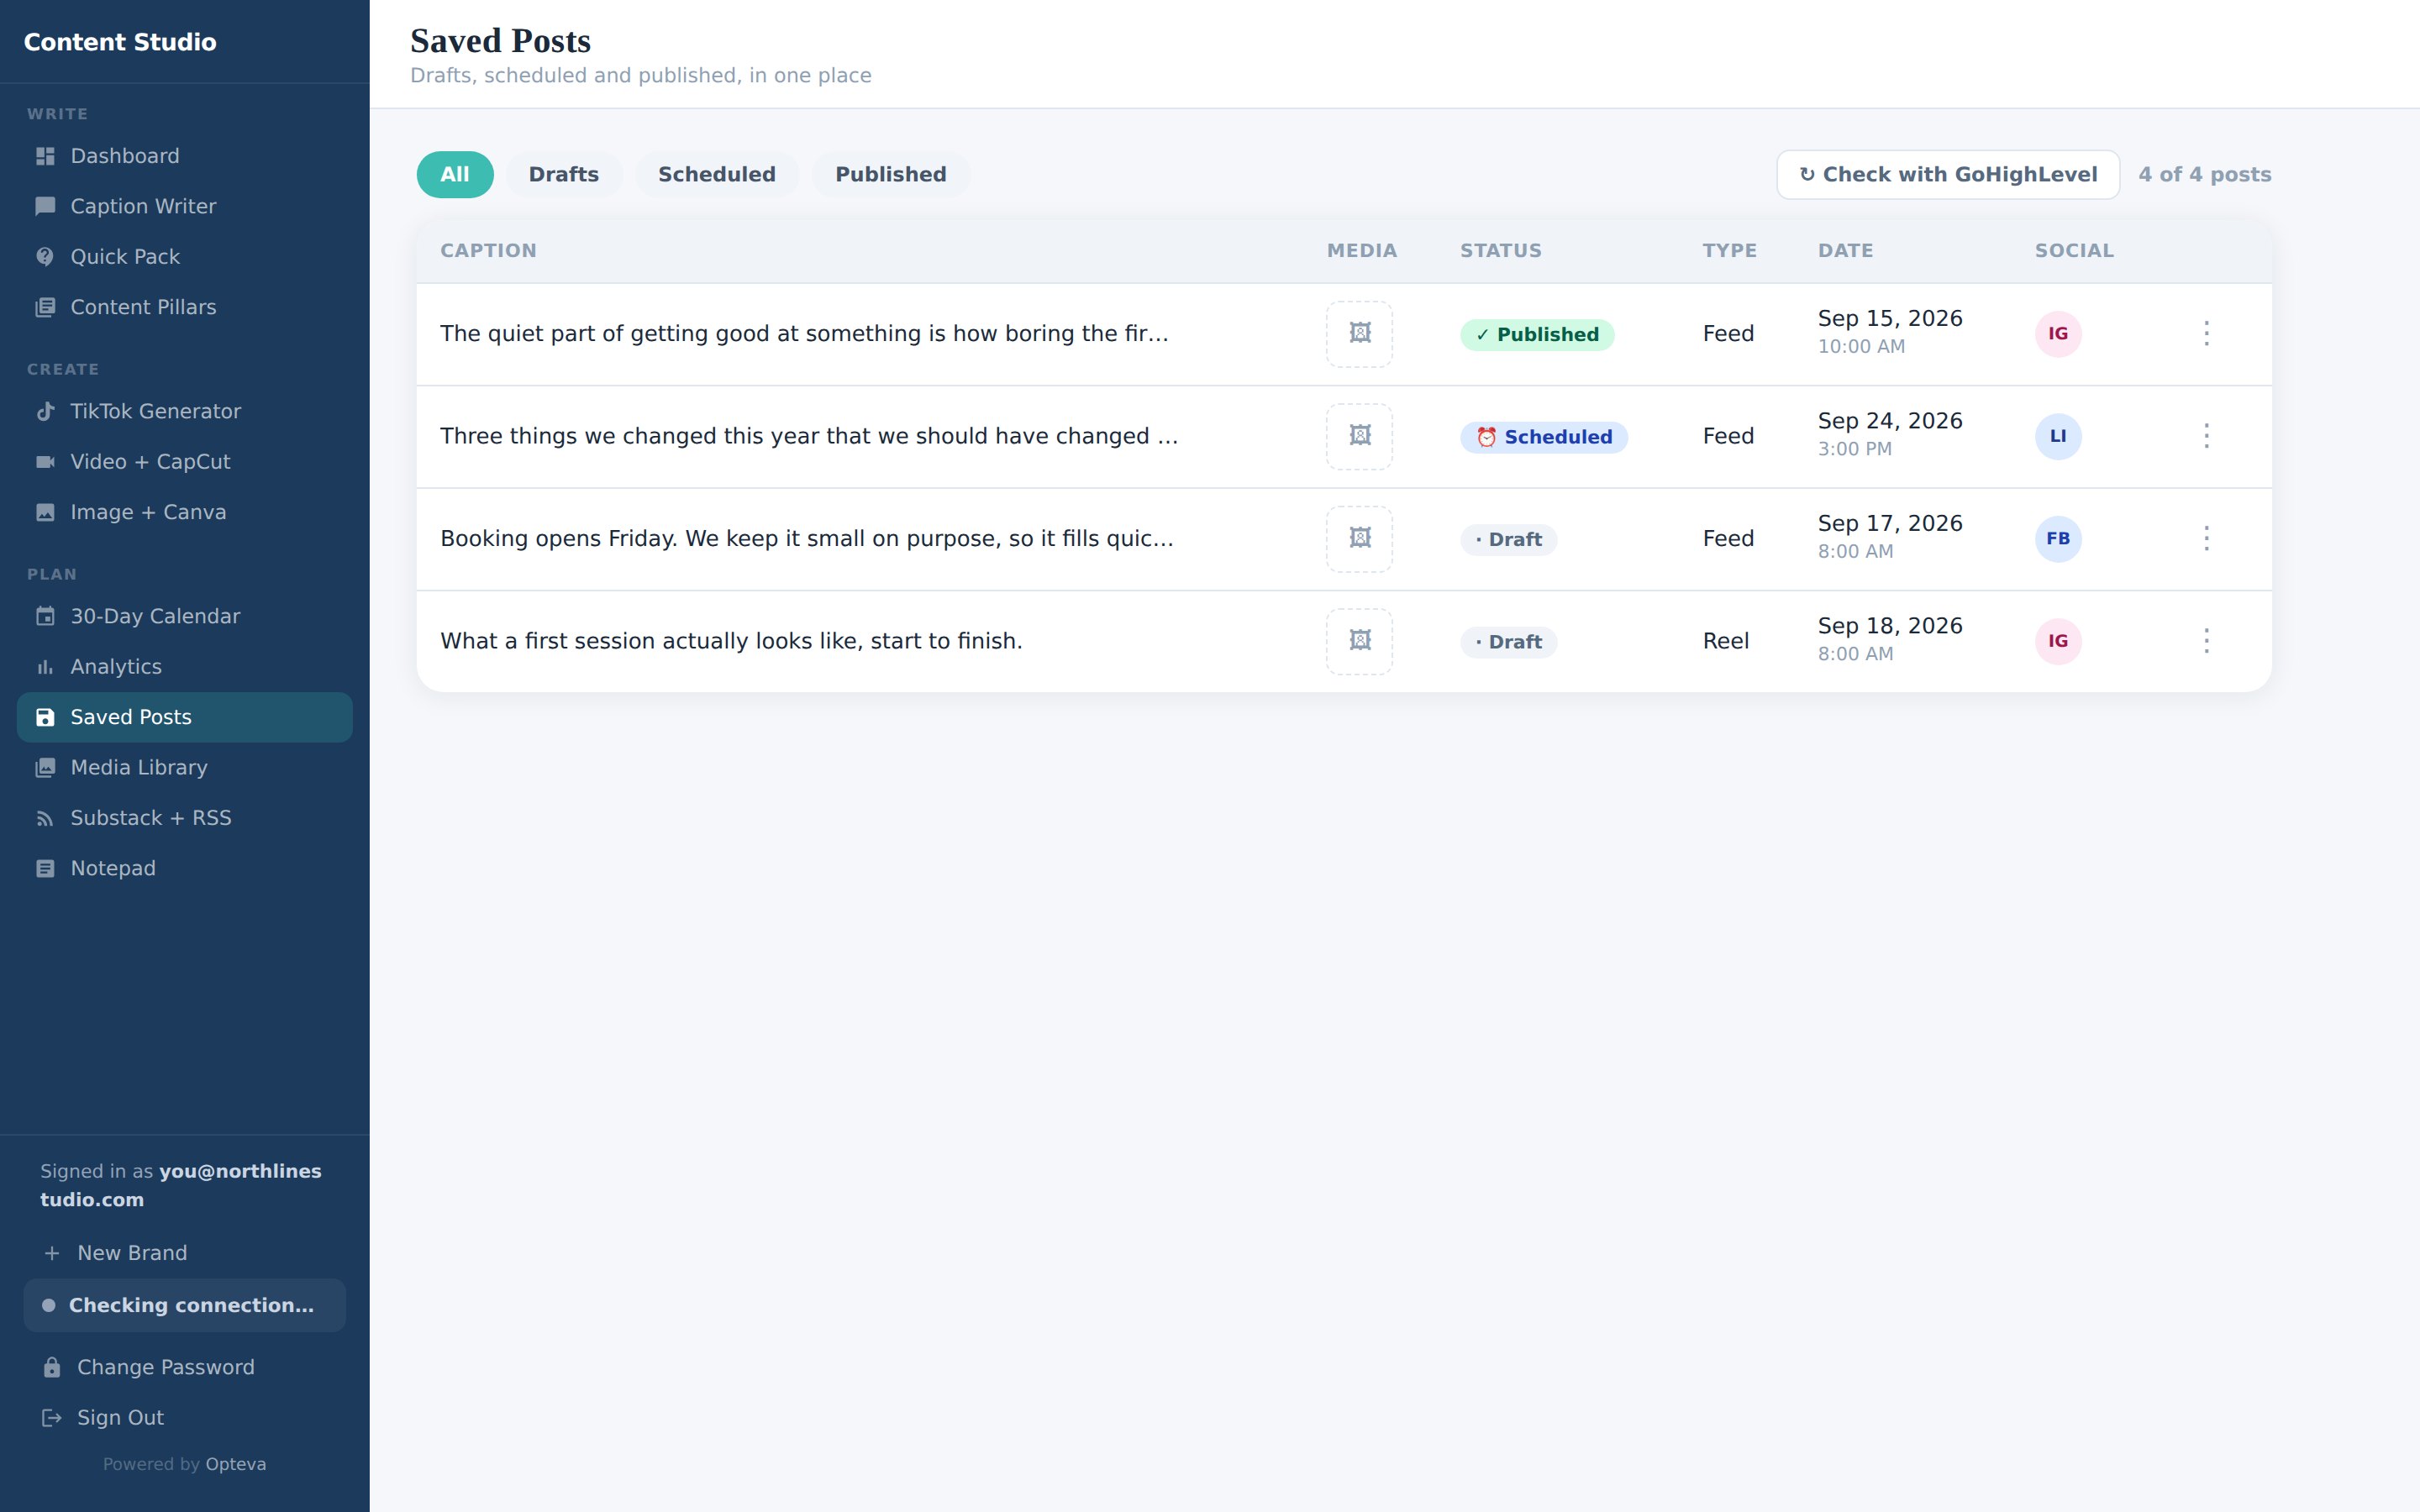
Click any row to reopen the editor. A published post shows where it went and when.
Video, reels and YouTube
- Upload a video to a post and publish it as a reel, a story or a feed video
- opteva can watch the clip and write captions from what happens in it, including anything said out loud
- YouTube posts take a title, which YouTube requires
- A reel or story has to be a video. A photo marked as a reel is refused before it leaves, with the two ways to fix it
Substack and RSS
Add a brand's Substack, or any blog with an RSS feed. Each new piece they publish becomes draft posts in their voice, waiting in Content. For Substack it is the publication address with /feed on the end.
Adding a feed marks the back catalogue as seen and only drafts what is published from then on, so you do not wake up to fifty drafts.
Analytics
Real numbers from the connected accounts. Impressions, reach, likes, comments and new followers, with a breakdown by network.
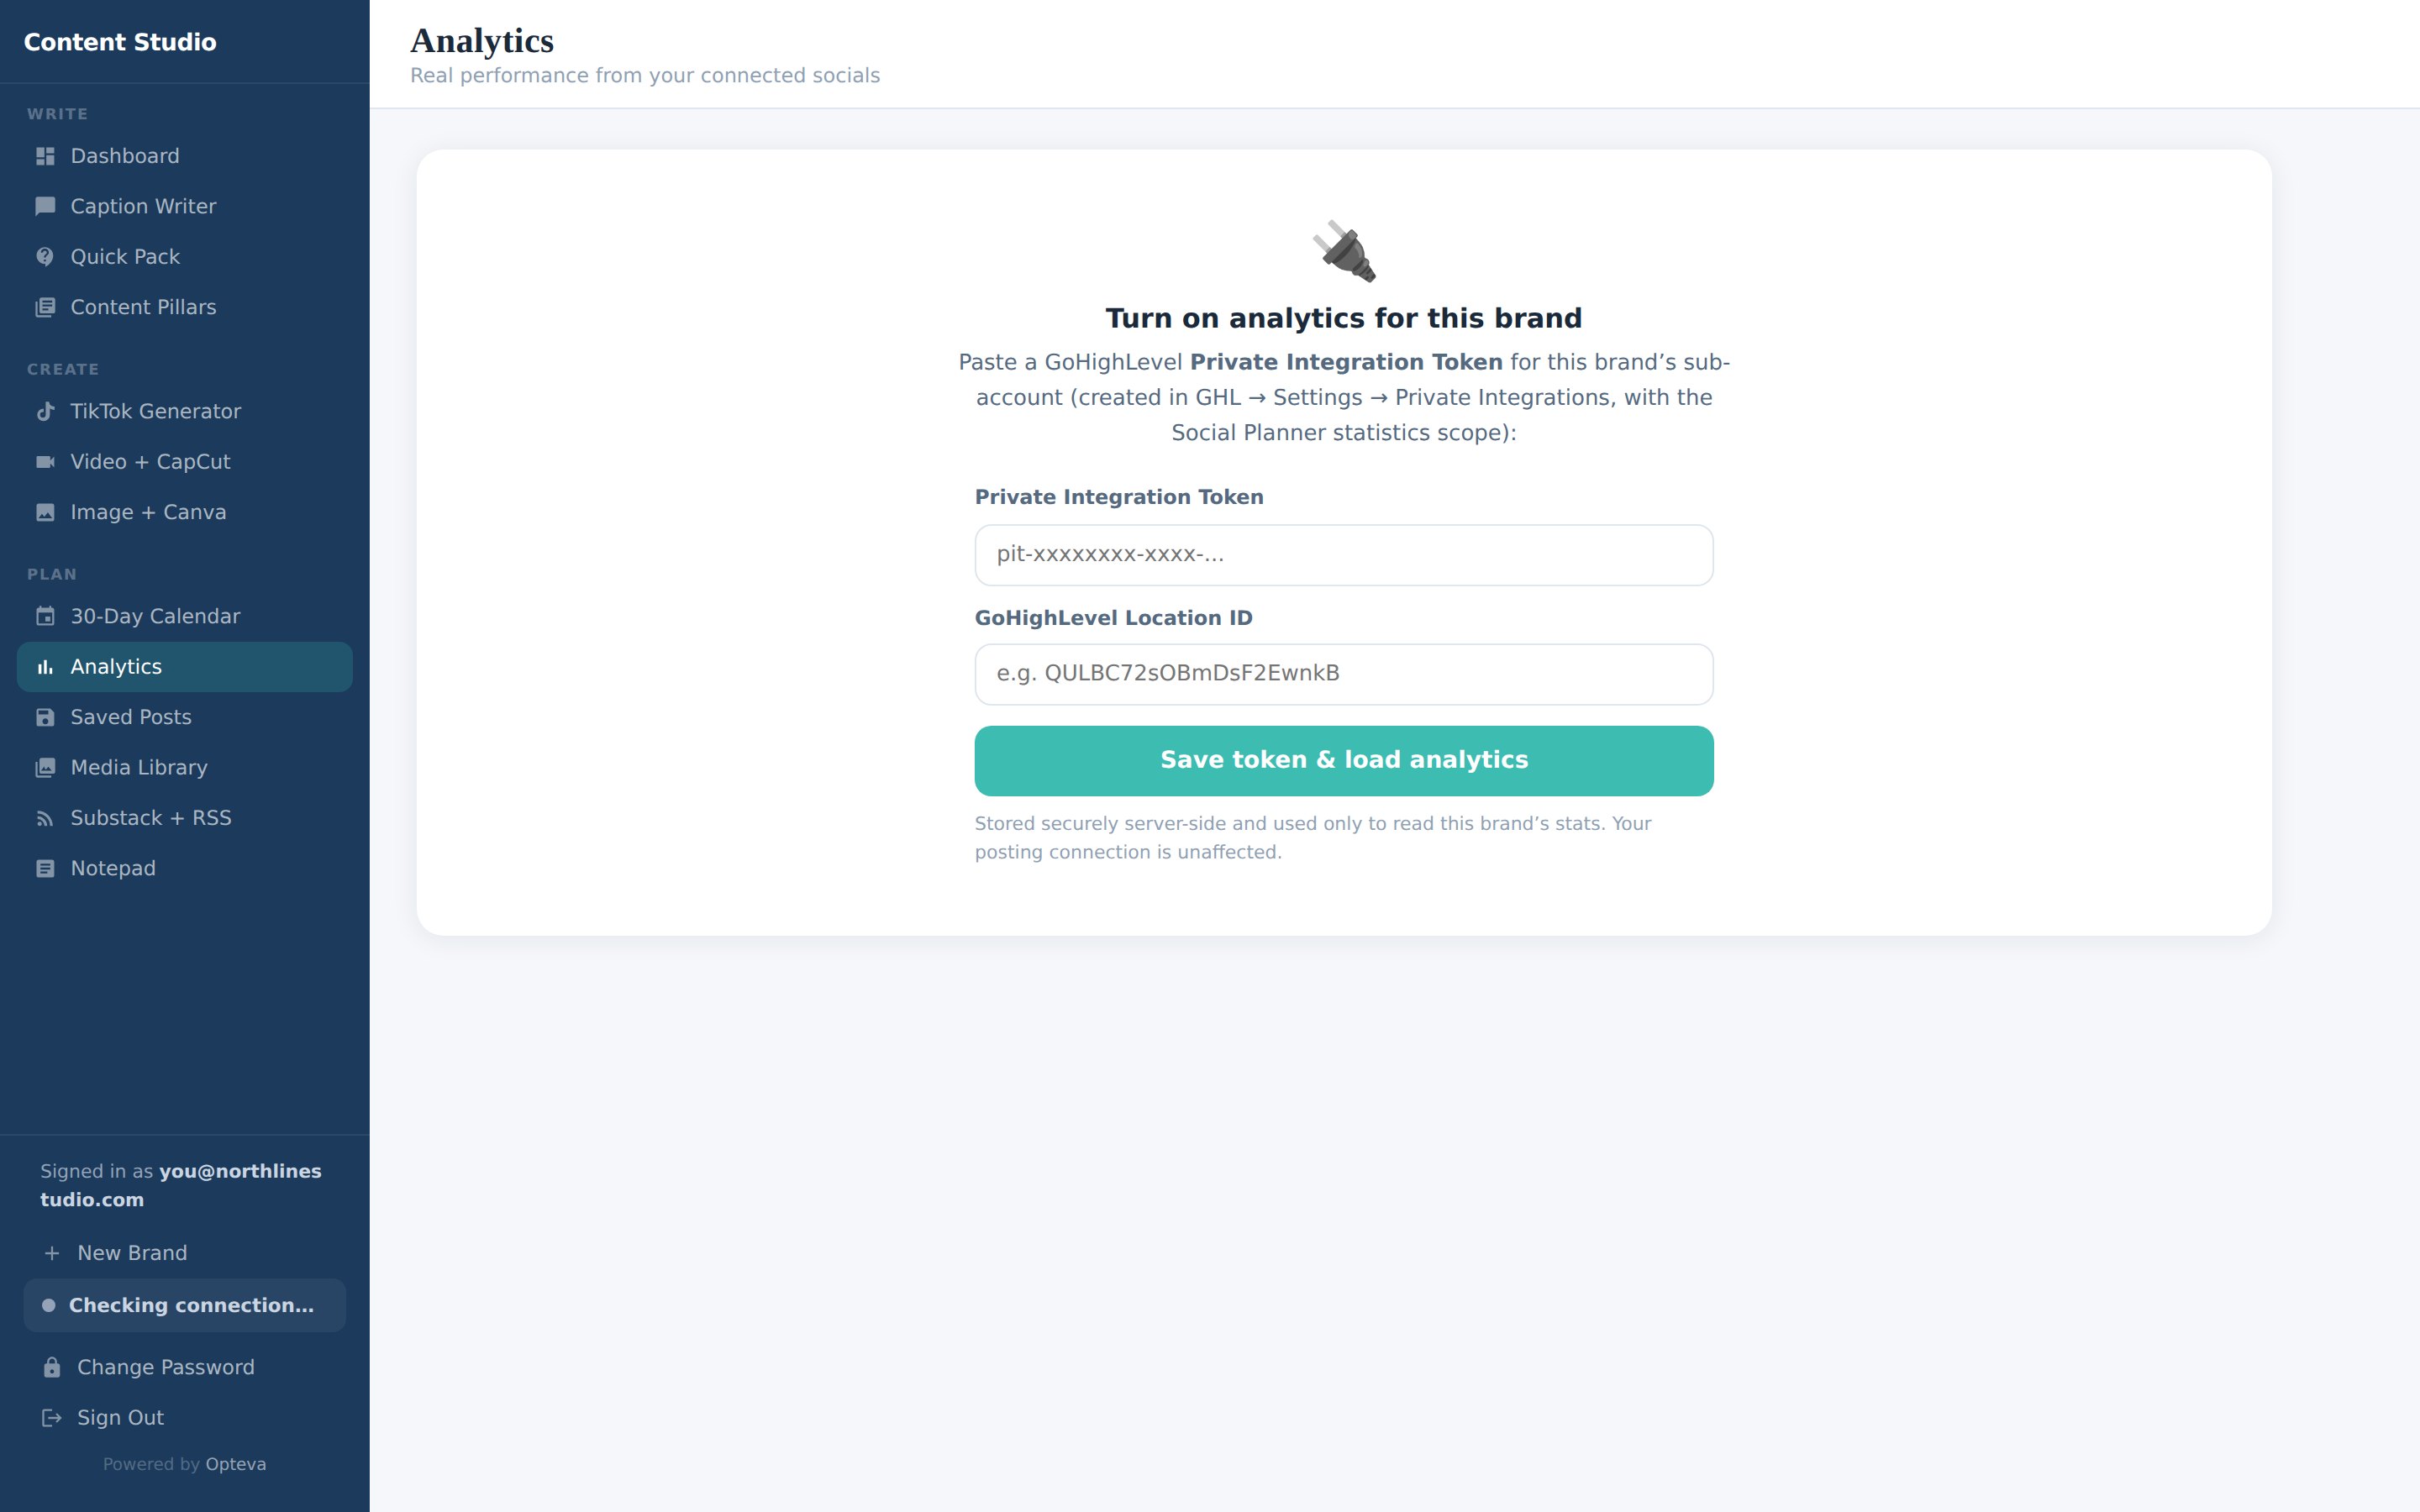
Each brand has its own numbers. Switch Studio to see another.
Who can see what
A studio belongs to one brand, and a brand belongs to one workspace. Someone with access to one client's studio cannot see another client's posts, drafts or numbers. That is enforced in the database, not just hidden in the interface.
When an account holds a single brand, anyone on that client account who opens opteva from the menu gets access to it automatically. Where a workspace holds several brands, a new person has to be added deliberately, so nobody inherits access to everything by clicking a menu item.
If something does not work
| What you see | What it means |
|---|---|
| Open a client account first | You clicked the menu item at the company level. A studio belongs to one brand, so open the client account first. |
| This account is not connected yet | No studio is linked to this CRM account. Connect it once from the studio and the menu link works from then on. |
| This studio is switched off | The brand exists and is connected, but has been deactivated. Switch it back on in opteva. |
| You do not have access to this studio yet | Your login is not on that brand. Someone who already has access needs to add you. |
| A reel needs a video | The post is set to Reel but holds a photo. Switch it to Feed, or replace the photo with a video. |
| No connected account for that network | That network is not connected in the client account's Social Planner. Connect it there, then publish again. |
| The sign-in screen inside your CRM | The automatic sign-in did not complete. Signing in once with your email and password works, and the browser remembers you. |
Not using opteva yet?
See what it writes for one of your clients before you install anything.
Book a free audit